
Last week, we discussed how to edit your content in order to fit your resume onto one page. But if you have edited your content and you are still having trouble, you'll need to look at your formatting. Almost everyone can fit their resumes onto one page without sacrificing important content. The key is to brush up on your Microsoft Word skills and to play with different formatting styles. Most people start by decreasing the font size, but this is almost never your best option. A font that is too small can be annoying to read, so you should start with a good font size (e.g., 11 pt Times New Roman or 10 pt Ariel) and only decrease after exhausting all other options. Here are some ways to alter your formatting to fit everything onto one page:
1. Change short bullet points to paragraph form.
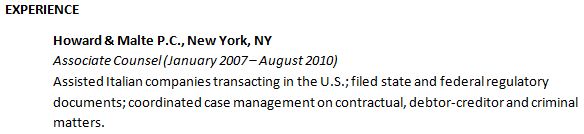
For example, if you start with this:

You can save space by changing it to paragraph form, as follows:

2. Eliminate unnecessary spaces after headings. Underline as necessary to separate headings from other text.
For example, if you start with this:

You can save space by underlining the "Education" heading and eliminating the space following the heading, as follows:

OR if you start with this:

You can save space by eliminating the space before the bullet points, as follows:

Be careful that you are not eliminating spaces that are necessary in order to make the page look balanced and organized. For example, some space is necessary before a heading so that the heading stands out. Space is also necessary between entries in each section so that they are clear and easy to read.
3. Eliminate indentation.
For example, if you start with this:

OR this:
You can save space by aligning everything to the left, as follows:

4. Condense headings where it makes sense.
Example 1: You have two sections for education, one called "Education" with your degrees listed, and another called "Additional Education" with one or two certificate-type courses listed. You may wish to condense these into a single "Education" section.
Example 2: You have three separate sections called "Bar Admissions," "Languages," and "Interests." You may wish to condense these into one section called "Miscellaneous" or two sections called "Bar Admissions" and "Languages/Interests."
5. Move things from multiple lines onto one line where it makes sense.
For example, if you list languages as follows:
LanguagesYou can save room by listing them as follows:
Native French.
Fluent in English.
Proficient in Spanish and English.
Languages
Native French; fluent in English; proficient in Spanish and English.
OR
If your heading at the top is written as follows:
Bruce Lee
300 W. 90th St. #4B
New York, NY 10024
(212) 555-1212
blee@law.fordham.edu
You can condense it from five lines to two lines as follows:
Bruce Lee
300 W. 90th St. #4B, New York, NY 10024 • (212) 555-1212 • blee@law.fordham.edu
6. Decrease the margins.
7. Check to make sure your document is single spaced.
Some versions of Word might default to a wider spacing, such as 1.15. Ensuring that your document is single spaced throughout can save a great deal of space.
8. Decrease the font size.
Unless you start with a font that is on the large side, you should do this only when you have exhausted all other options. You should never go smaller than 10.5 pt Times New Roman. Keep in mind that 11 pt Times New Roman is ideal.
No comments:
Post a Comment